Tmux for Beginners
A quick intro to using and configuring tmux
Tmux, short for Terminal Multiplexer, is a wonderful program that many Linux novices are unfortunately unaware of. Learning how to use Tmux will greatly improve your comfort and efficacy at the command line.
If you’re running Linux, Tmux should be available from your distribution’s repositories. On Debian / Ubuntu, you can run $ sudo apt install tmux -y to install.
Configuration
$ vim ~/.tmux.conf
The following is my own tmux.conf file. If you want to pull the file, here’s the direct link:
https://bartonbytes.com/tmux.conf
set-option -g prefix C-q
# alt prefix:
#set-option -g prefix C-e
unbind C-b

# rebind split pane commands
bind | split-window -h
bind - split-window -v
unbind '"'
unbind %

# move status bar to top of terminal
set-option -g status-position top

# set background to cyan
set-option -g status-bg cyan
# alt color:
#set-option -g status-bg red
#set-option -g status-fg white

# set current window background to yellow
set-window-option -g window-status-current-style bg=yellow
# alt color:
#set-window-option -g window-status-current-bg black

# increase history limit
set-option -g history-limit 500

# increase status message display time to 2 seconds
set-option -g display-time 2000

# set base index to 1 (instead of 0)
set-option -g base-index 1
set-window-option -g pane-base-index 1

# 256 color terminal
set -g default-terminal "screen-256color"

# add "control + r" keybinding to reload tmux config
unbind r
bind r source-file ~/.tmux.conf \; display "RE- RE- RELOADED!!!"
The config file allows comments prefaced by the pound sign. My comments explain what each line does, but I’ll explain a bit more.
By default, the preface to each Tmux command is Control-b. I prefer Control-q, but you should set this to whatever is most comfortable for you, since you’ll be using it a lot.
The status-bg option sets the color of the Tmux status bar. The status-fg option sets the color of the text- by default, this is black. The window-status-current-bg sets the color of the current window, so it should be something that contrasts well with the status-bg.
The final option sets our reload command. This means that we can hit Control-q + Control-r to reload Tmux after editing our config, rather than quitting and restarting.
You’ll notice that I have a few commented-out lines marked “alt”. These are the configs that I use on servers that I ssh into. If we use the same prefix key on both machines, we’d have to hit Control-q twice before entering a command for the server, which is annoying. It’s also nice to use different colors so that we can easily tell the difference between each session.
My config file only touches on a couple of the available options. For more inspiration, there are plenty of config file examples available online. Do a web search for “.tmux.conf” or “tmux configuration” to find some.
Important Commands
After starting Tmux, our terminal will look like this:
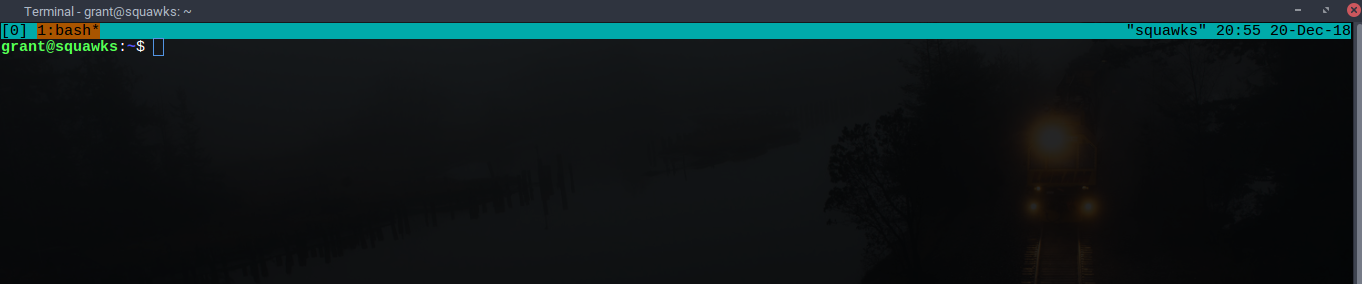
This is our first window. We know that it’s currently active because the background is highlighted in a different color. We can run an arbitrary command here- let’s run htop, so that we can keep track of our resource usage. Then, we should make a new window. This is done by hitting our prefix + c. For us, that means C-q + c (remember, capital C refers to the control key).
We can switch to a different window by hitting the prefix + # of the window. Since our htop window is window number 1, we should hit C-q + 1 to switch back to it.
Now, we should see this:

Yeah, this is neat and all, but how do I split up my terminal so I can do stuff side-by-side like all those cool Linux power users?? Don’t worry, that’s also easy, especially since we changed our default commands to make them easier to remember.
To split a window horizontally into two panes, hit C-q + | - that’s the pipe character, probably located above your enter key. To split vertically, hit C-q + - - that’s the dash key, between zero and the = sign.
To switch back and forth between panes, hit the prefix plus an arrow key, the arrow key being the direction of the pane that we want to switch to. For example, after splitting horizontally, we can hit C-q + Left to switch back to the left pane. Try switching back and forth between your panes.
Once we’ve split a window, we can also adjust the sizes of each pane. To do so, hold down the prefix (C-q) while hitting the arrow key of the direction we want to move the pane. Try doing this a few times.
We can make our window look something like below. The top right program is tmux clock. The bottom right is cmatrix, which is likely in your distro’s repository.
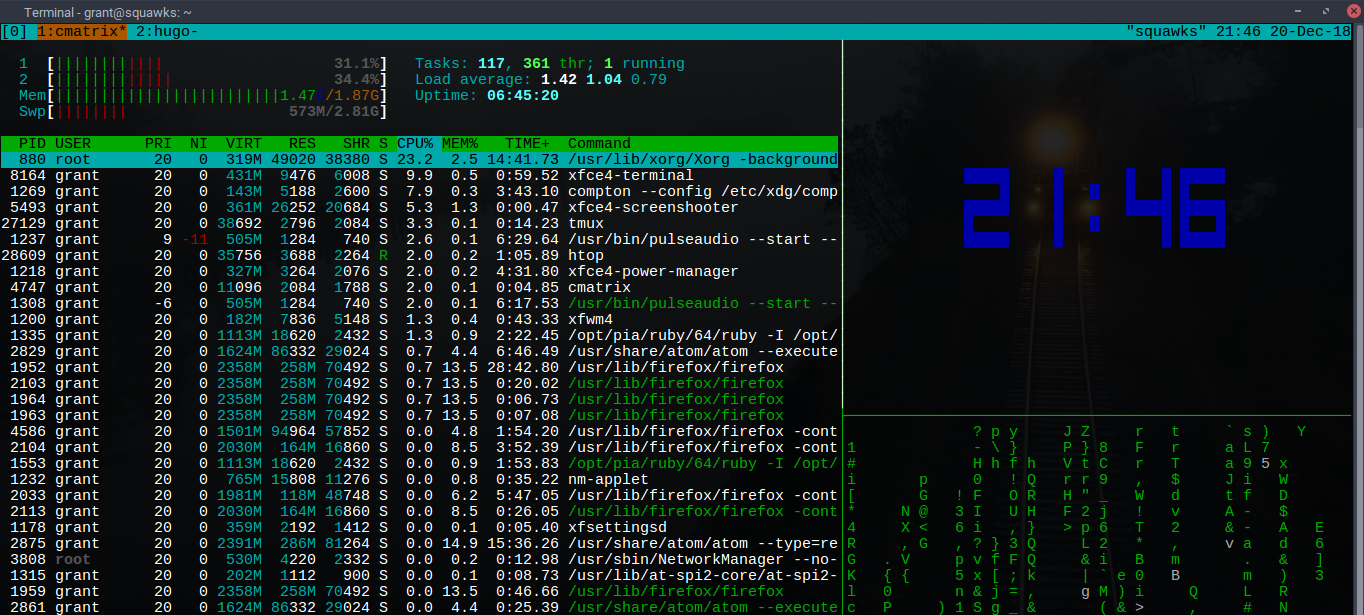
To close a single pane, use C-q + x while inside the pane. To kill the whole window, use C-q + &.
Try killing the two panes on the right. Now, kill the whole window.
You’ll notice that our second window is still Window 2. If we open a new window using C-q + c, it will place itself in the lowest available position- in this case, Window 1. Until then, there simply won’t be any Window 1.
To kill all of our current tmux sessions and exit tmux, simply enter the command
$ tmux kill-server
For more commands, check out this useful site. You can also refer to the Tmux manual; just run $ man tmux
Using Tmux Remotely
Start off by running Tmux on our local host. Now, SSH into our remote server. Install Tmux and create a .tmux.conf file, just like we did before. I highly recommend uncommenting my “alt” options, and commenting out the relevant older options. Now, we can finally start Tmux on our remote host. Our terminal will look something like this:

Cool, our remote Tmux session is nested inside of our local session. I can hit C-q + c to open up a new window on my local machine, or C-e + c to open up a new window on my remote machine. If I use C-q + 1 to switch to a different window than my SSH session, then hitting C-e + anything won’t have any effect, since we’re not focused on the remote Tmux session any more.
If we forgot to edit our config file, and used the same one on both machines, we might be a bit confused. Since both of our Tmux sessions have the same prefix, we’ll have to enter it twice to pass through to the inside Tmux session. In order to open a new window in our remote session, we’d have to hit C-q + C-q + c. Our terminal would also look something like this:

We can still use Tmux like this, but it’s a lot simpler if we use different configurations on each machine.
So, we’ve made sure to change our config, and we’ve done some work in our remote session, but now we have to take a break. With Tmux, it’s easy to save our session and return to it later.
In our remote session, we can run the following command:
$ tmux detach-client
We can now exit our SSH session and re-connect later. To start up our saved Tmux session, we enter:
$ tmux attach-session -t 0
Notice that the session numbering began at zero. By default, the window numbering also begins at zero, but we changed this to one in our config file because the 1 key is easier to reach than the 0 key.
As you might have guessed, we can have more than one session running at a time. To create a new session, run the following while not inside a Tmux session:
$ tmux new-session
We can see the name of our current session on the far right side of the status bar. It will be located between two square brackets []. Although sessions will default to being named a number, incrementing from zero, we can also set our own names by using the -s flag:
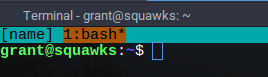
$ tmux new-session -s name
Here’s what this new session would look like:
We can detach and re-attach this session the same way we did with session 0.
If you forget what you’ve named your previous sessions, don’t worry. You can find them with this:
$ tmux list-sessions
Killing a session is easy too. If you’re inside the session that you want to kill it’s as simple as
$ tmux kill-session
If we want to kill a different session, use the -t flag:
$ tmux kill-session -t name
To kill all sessions at once, we can simply kill the server:
$ tmux kill-server
This is all you need to take advantage of Tmux, but there are many more commands and configuration options available. If you’re interested in a more detailed introduction, I highly recommend the book Getting Started with Tmux by Victor Quinn.